

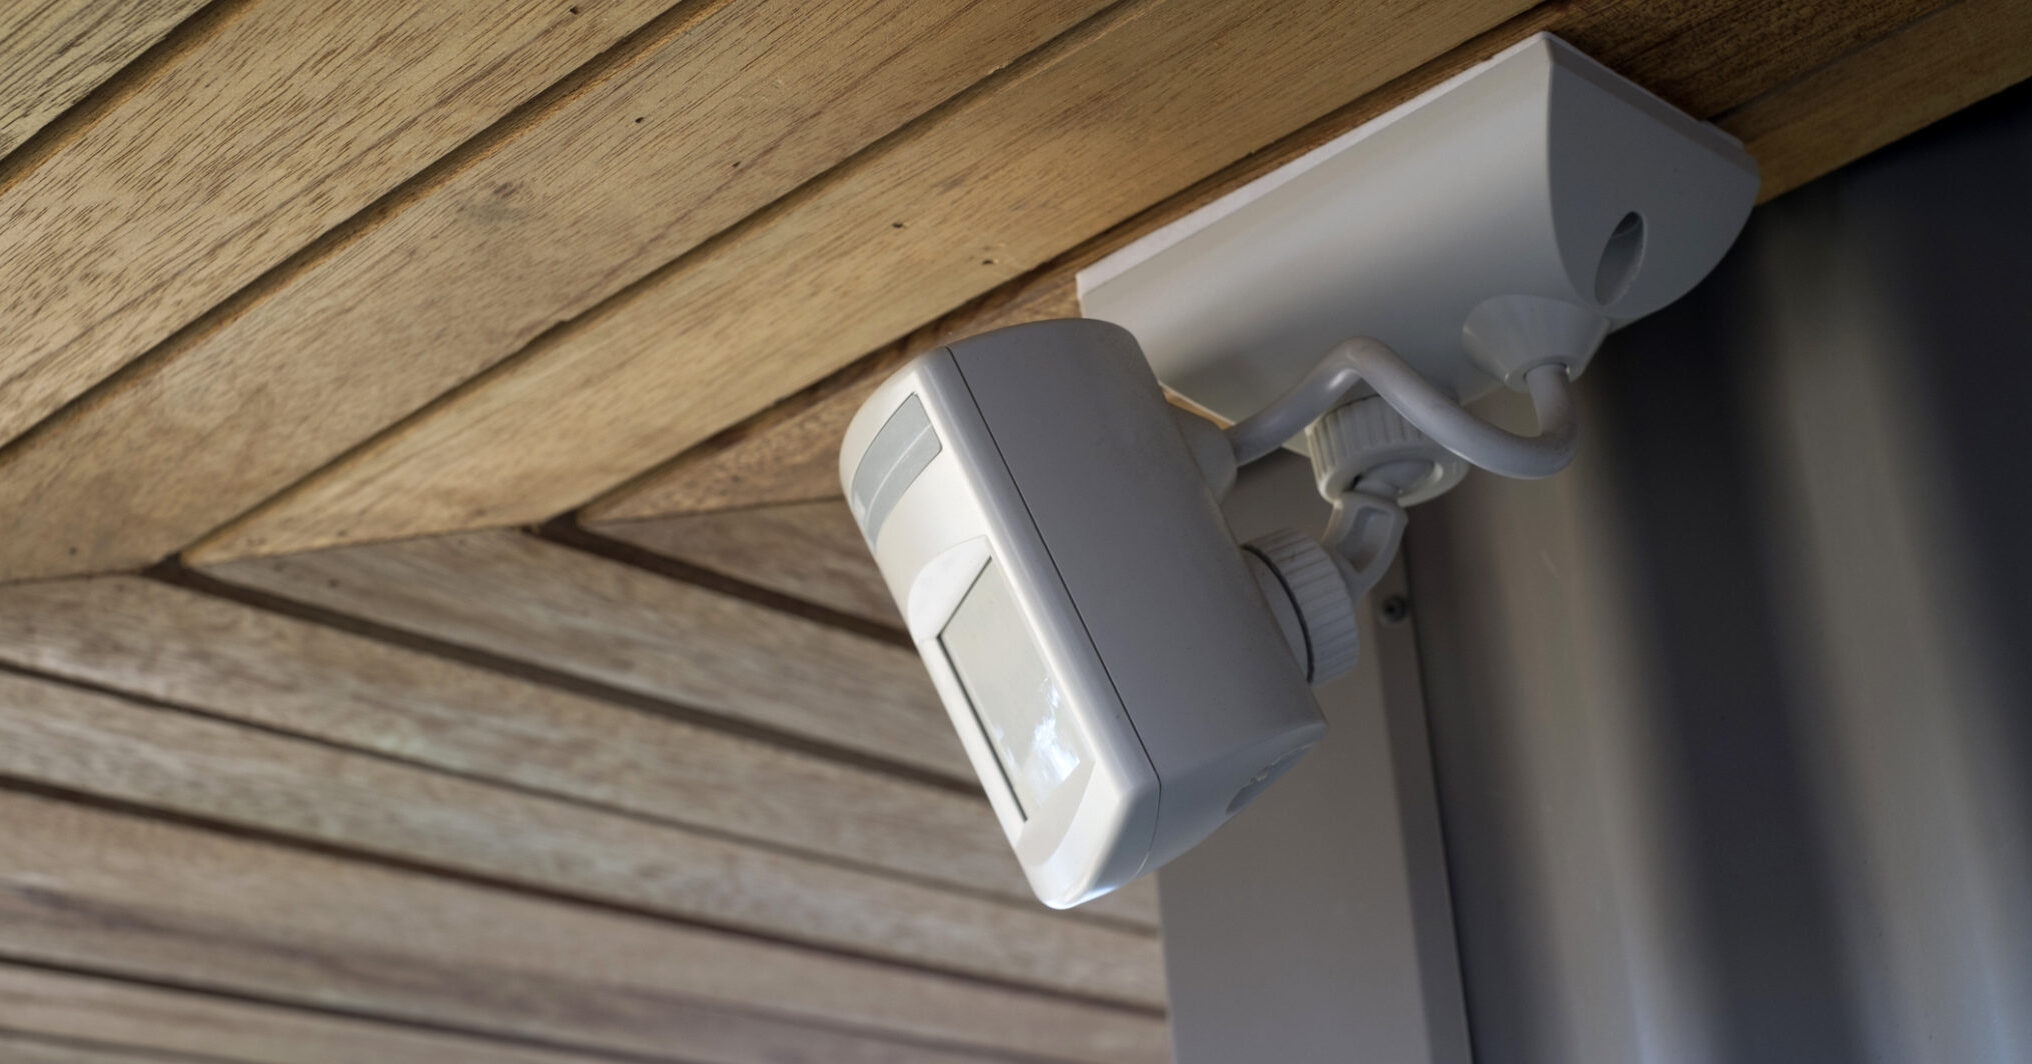
Motion sensor lighting is one of the easiest ways to improve your home’s security, safety, and convenience. These lights automatically turn on when movement is detected, helping illuminate dark areas while saving energy. Whether you want better visibility around your driveway, backyard, garage, or entryway, installing motion sensor lighting is a practical DIY project that delivers immediate benefits.
In this guide, we’ll walk through how to install motion sensor lighting step by step for a clean, professional-looking result.
Benefits of Motion Sensor Lighting
Motion sensor lights offer several advantages for homeowners, including:
- Increased home security
- Better nighttime visibility
- Energy efficiency
- Added convenience
- Deterrence against unwanted visitors
Because the lights activate only when needed, they can also help reduce electricity costs compared to traditional outdoor lighting.
Tools and Materials You’ll Need
Before starting, gather the following tools and supplies.
Tools
- Screwdriver
- Drill and drill bits
- Voltage tester
- Wire strippers
- Ladder
- Electrical tape
Materials
- Motion sensor light fixture
- Wire connectors
- Mounting screws
- Weatherproof electrical box (if needed)
Always choose a motion sensor light rated for outdoor use if installing it outside.
Step 1: Turn Off the Power
Safety should always come first when working with electrical fixtures.
Locate your home’s electrical panel and switch off the breaker connected to the existing outdoor light.
Use a voltage tester to confirm that no electricity is flowing before touching any wires.
Never skip this step.
Step 2: Remove the Existing Light Fixture
If you’re replacing an old exterior light:
- Remove the screws holding the fixture in place
- Carefully pull the fixture away from the wall
- Disconnect the wiring
You’ll typically see:
- Black wire (hot)
- White wire (neutral)
- Green or bare copper wire (ground)
Inspect the electrical box to ensure it’s secure and in good condition.
Step 3: Assemble the Motion Sensor Light
Before mounting the new fixture, follow the manufacturer’s instructions to assemble the motion sensor components.
Some lights require:
- Attaching the sensor head
- Installing light bulbs
- Adjusting the sensor angle
Pre-assembly makes installation easier once wiring begins.
Step 4: Connect the Wiring
Match the wires from the new fixture to the house wiring.
Typically:
- Black connects to black
- White connects to white
- Ground connects to ground
Secure each connection with wire connectors and wrap with electrical tape if desired.
Carefully tuck the wires back into the electrical box.
Step 5: Mount the Fixture
Attach the motion sensor light to the mounting bracket or electrical box using the included screws.
Use a level if necessary to ensure the fixture sits straight against the wall.
Make sure the fixture is tightly secured and weather-resistant.
Step 6: Adjust the Motion Sensor
Most motion sensor lights allow you to customize settings such as:
- Detection range
- Light sensitivity
- Duration the light stays on
Aim the sensor toward the area you want to monitor, such as:
- Walkways
- Driveways
- Entry doors
- Garages
Avoid pointing the sensor toward busy streets or moving trees, which may trigger false activations.
Step 7: Restore Power and Test the Light
Turn the breaker back on and test the motion sensor lighting.
Walk through the detection zone to ensure:
- The light activates properly
- The sensor angle works correctly
- The timer settings meet your preferences
Make adjustments as needed for the best performance.
Common Mistakes to Avoid
Skipping the Voltage Test
Always confirm the power is off before handling electrical wiring.
Installing the Sensor Too High
Mounting the sensor too high can reduce detection accuracy.
Aiming at Constant Motion
Traffic, pets, or tree branches can trigger unnecessary lighting.
Using Indoor Fixtures Outdoors
Outdoor-rated fixtures are designed to handle moisture and temperature changes safely.
Best Places to Install Motion Sensor Lights
Motion sensor lighting works especially well in areas such as:
- Front entrances
- Backyards
- Garages
- Side pathways
- Driveways
- Patios
Strategic placement improves both safety and security around your home.
Final Thoughts
Installing motion sensor lighting is a simple home improvement project that adds security, convenience, and energy efficiency to your property. With basic tools and careful wiring, most homeowners can complete this upgrade in just a few hours.
By choosing the right location and properly adjusting the sensor settings, you can enjoy reliable outdoor lighting that enhances both the appearance and functionality of your home.
These lights automatically turn on when movement is detected, helping illuminate dark areas while saving energy.