

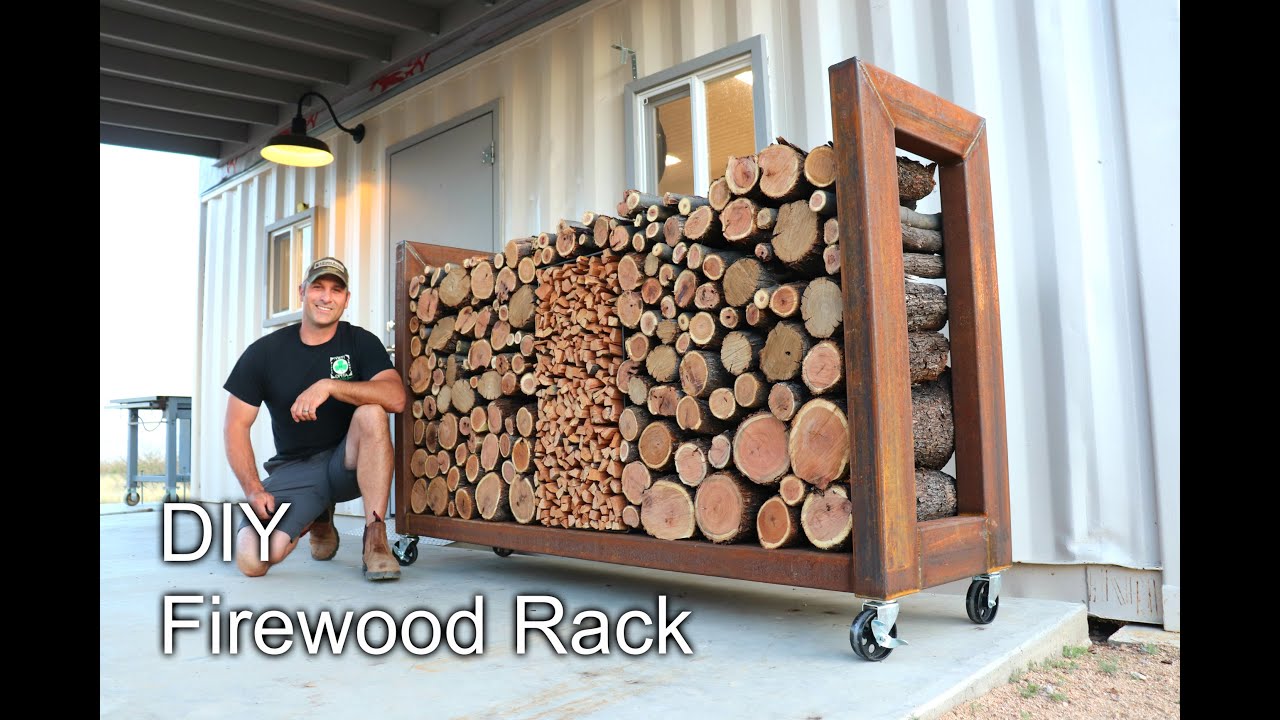
Keeping your firewood organised and dry is essential for efficient burning and a clean outdoor space. A simple firewood rack is an easy DIY project that helps protect wood from moisture, improves airflow, and keeps your backyard looking tidy. Best of all, you can build one in just a few hours using basic tools and affordable materials.
In this guide, we’ll walk you through how to build a simple firewood rack step by step.
Why You Need a Firewood Rack
Stacking firewood directly on the ground can lead to several problems, including:
- Moisture buildup and wood rot
- Insect infestations
- Poor airflow that slows drying
- Messy and unstable wood piles
A raised firewood rack keeps logs off the ground and allows proper ventilation so your wood stays dry and ready to burn.
Tools and Materials You’ll Need
Before you begin, gather the following materials and tools.
Materials
- Pressure-treated 2×4 lumber
- Wood screws
- Gravel or pavers for the base
- Exterior wood stain or sealant (optional)
Tools
- Circular saw or miter saw
- Drill and drill bits
- Tape measure
- Speed square
- Level
- Safety glasses and gloves
Pressure-treated wood is ideal for outdoor projects because it resists moisture and decay.
Step 1: Choose the Right Location
Pick a flat, well-drained area for your firewood rack.
The best location should:
- Receive good airflow
- Stay relatively dry
- Be easily accessible during winter
- Sit away from direct contact with your home
Adding gravel or pavers underneath the rack helps improve drainage and prevents the wood from sitting in mud.
Step 2: Measure and Cut the Lumber
For a basic firewood rack, a common size is:
- 4 feet wide
- 4 feet tall
- 16 to 18 inches deep
Cut your lumber into:
- Four vertical posts
- Four horizontal frame pieces
- Two or more support braces
Adjust the dimensions based on how much firewood you plan to store.
Step 3: Build the Base Frame
Start by assembling the rectangular base.
- Lay two long boards parallel to each other
- Attach shorter boards at each end
- Secure the corners with wood screws
Use a speed square to make sure the corners are perfectly square before tightening all screws.
The base keeps the firewood elevated and stable.
Step 4: Attach the Vertical Supports
Stand the four vertical posts upright at each corner of the base frame.
Secure each post using screws driven through the base.
Use a level to ensure every post is straight before fully tightening the screws.
These supports will hold the side rails and keep the rack sturdy.
Step 5: Install the Upper Frame and Braces
Attach the top horizontal boards to connect the vertical posts.
Next, add diagonal support braces to improve stability and prevent wobbling.
If your rack will hold a large amount of firewood, adding extra center supports is a smart idea.
Step 6: Sand and Protect the Wood
Lightly sand rough edges or splinters for a cleaner finish and safer handling.
You can also apply:
- Exterior wood stain
- Waterproof sealant
- Outdoor paint
This extra protection helps extend the life of the rack, especially in wet climates.
Step 7: Stack Your Firewood Properly
Once the rack is complete, stack your firewood neatly.
For best results:
- Place bark-side up if storing outdoors
- Leave small gaps between logs for airflow
- Avoid stacking wood too tightly
- Cover only the top during heavy rain or snow
Proper stacking improves seasoning and helps wood burn more efficiently.
Common Mistakes to Avoid
Placing the Rack Directly on Soil
Ground contact traps moisture and can shorten the life of both the rack and the firewood.
Building Without Support Braces
Without reinforcement, the rack may lean or collapse over time.
Overstacking the Wood
Excessive weight can strain the frame and create safety hazards.
Using Untreated Lumber
Untreated wood may rot quickly when exposed to outdoor conditions.
Benefits of a DIY Firewood Rack
Building your own firewood rack offers several advantages:
- Saves money compared to store-bought racks
- Customizable size and design
- Improves firewood storage and drying
- Adds organization to your outdoor space
It’s a practical project that combines function with simple craftsmanship.
Final Thoughts
A simple firewood rack is one of the easiest and most useful DIY outdoor projects you can build. With a few basic tools and materials, you can create a sturdy storage solution that keeps your firewood dry, organised, and ready for use year-round.
By following these steps and taking time to build a solid frame, you’ll end up with a durable rack that improves both the appearance and functionality of your outdoor space.